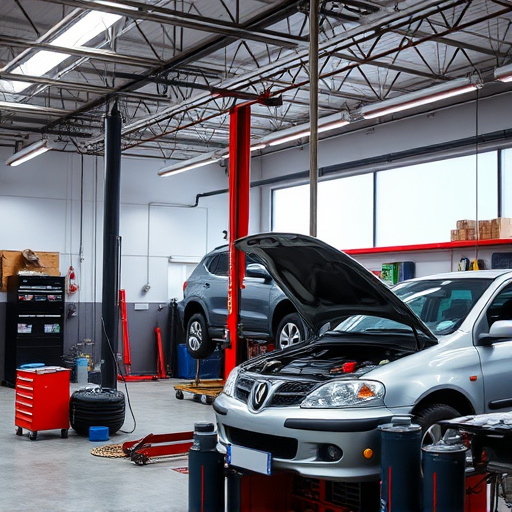


Before tri-coat paint repair, assess and prepare car bodywork, cleaning and repairing damages. Gather specific tools and suitable products for optimal results. Apply specialized tri-coat system with airless sprayer in ideal conditions, using thin even coats for a professional finish.
“Ensure your vehicle’s exterior looks as good as new with this comprehensive guide to tri-coat paint repair. Before you begin, assess the damage and gather essential supplies for a successful transformation. Prepare the car surface meticulously for painting by cleaning, sanding, and priming. Then, apply the tri-coat paint system, achieving a smooth finish that enhances your car’s aesthetics. Follow these steps for a professional-level restoration.”
- Assess Damage and Gather Supplies
- Prepare the Car Surface for Painting
- Apply Tri-Coat Paint and Achieve a Smooth Finish
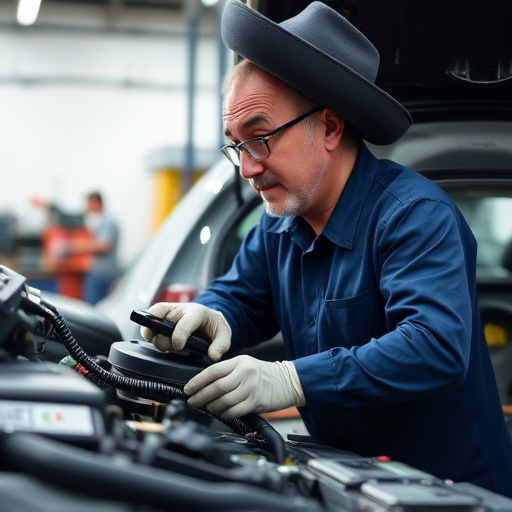
Assess Damage and Gather Supplies
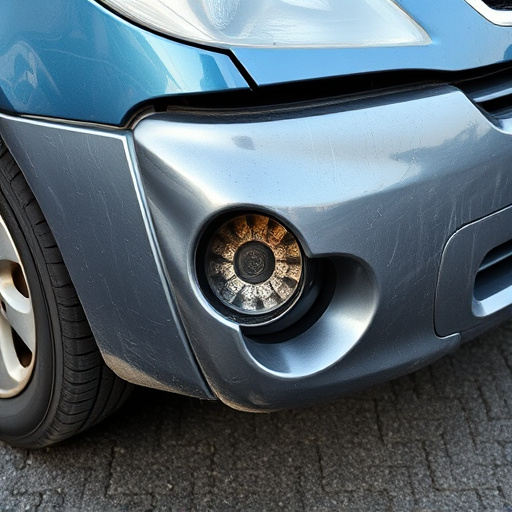
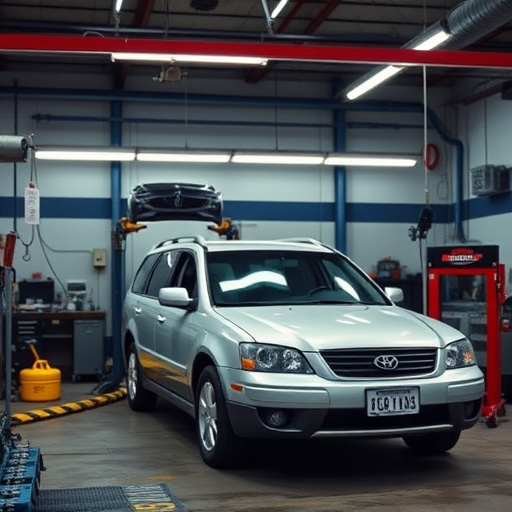
Before diving into the tri-coat paint repair process, it’s crucial to assess the extent of damage on your vehicle. This involves meticulously examining every inch of your car’s bodywork, looking for cracks, chips, dents, or areas where the paint is peeling or faded. The goal is to identify not just visible issues but also hidden problems that might require further investigation.
Once you have a clear understanding of the damages, it’s time to gather the necessary supplies. For a successful tri-coat paint repair, you’ll need specific tools and materials tailored for automotive repair, including sandpaper, primer, color paint (matching your car’s original shade), clear coat, and possibly a classic car restoration kit if you’re tackling significant repairs. Ensure that all products are suitable for use on your vehicle’s tri-coat paint system to achieve the best results in car bodywork.
Prepare the Car Surface for Painting
Before beginning any tri-coat paint repair, ensuring your car’s surface is properly prepared is paramount. Start by thoroughly washing and drying the vehicle to remove any dirt, dust, or debris that could contaminate the paint job. This initial step is crucial for achieving a smooth, long-lasting finish.
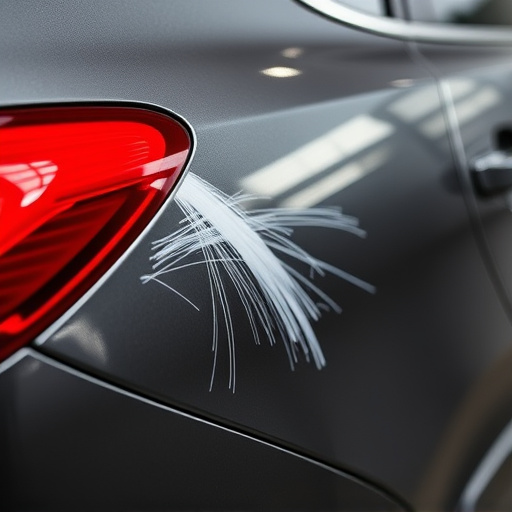
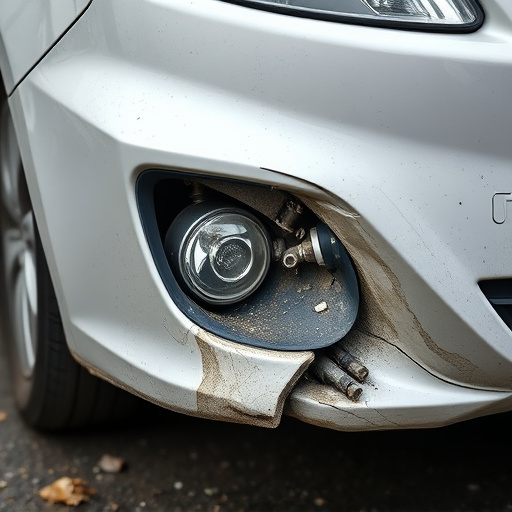
Once the car is clean, inspect it carefully for any existing damage like scratches, dings, or rust spots. Minor repairs, such as fixing scratches and minor dents through methods like filling and sanding, are often recommended before applying tri-coat paint. Properly addressing these issues creates a solid foundation for the new paint, guaranteeing better adhesion and a more uniform finish. Frame straightening might be necessary if there’s significant structural damage, ensuring the car’s surface is perfectly aligned and even.
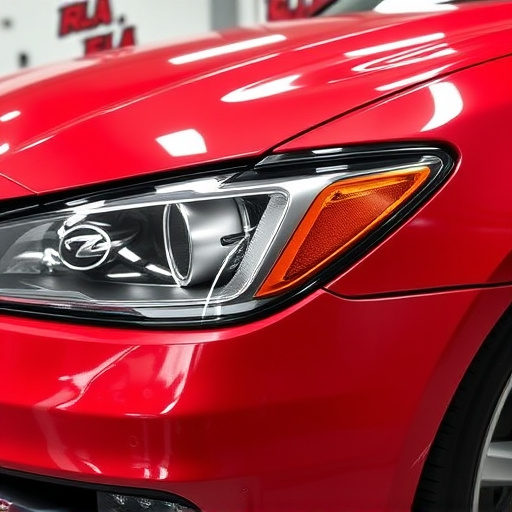
Apply Tri-Coat Paint and Achieve a Smooth Finish

After preparing your car for tri-coat paint repair, it’s time to apply the final layer—the tri-coat paint itself. This advanced paint system is designed to provide a durable, high-quality finish that matches your vehicle’s original color perfectly. When applying tri-coat paint, follow these steps for optimal results:
1. Use an airless sprayer: This tool ensures even application and minimizes overspray, resulting in a smoother, more professional finish.
2. Maintain proper temperature and humidity: The environment should be controlled to prevent the paint from drying too quickly or unevenly. Aim for a temperature between 65–75°F (18–24°C) with relative humidity around 40–60%.
3. Apply thin, even coats: Tri-coat paint is applied in three stages—base coat, intermediate coat, and top coat. Each layer should be fine and evenly distributed for a seamless finish. Allow adequate drying time between coats.
Preparation is key when it comes to tri-coat paint repair. By assessing the damage, gathering the right supplies, and properly preparing your car’s surface, you lay the foundation for a successful restoration. Following these steps ensures that your vehicle not only looks its best but also achieves a smooth, long-lasting finish. Remember, taking the time to do it right will save you from costly repaints down the line.